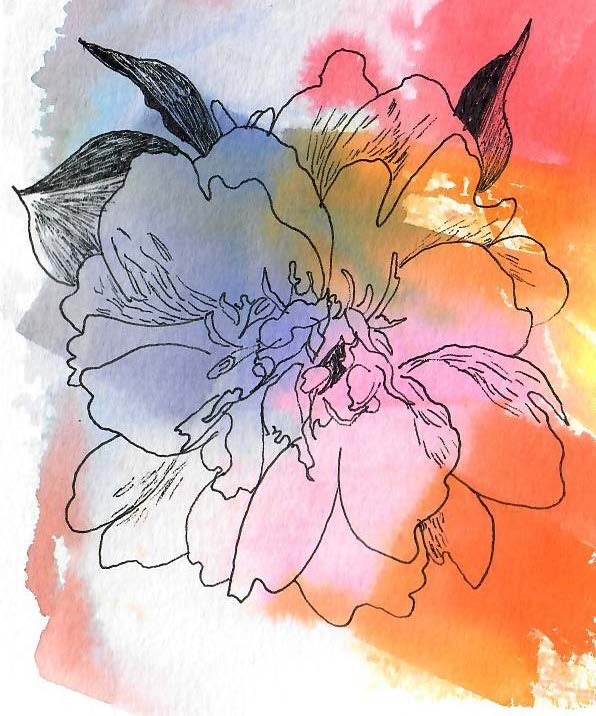
Botanical Valentines
BOTANICAL VALENTINES TISSUE PAPER PRINTS
Nothing expresses love quite like the color and beauty of a Garden in full bloom. We may not have any brightly colored flowers outside our windows in Anchorage right now, but we can certainly dream of what they will look like this summer. And what better way to show your love than with botanical themed tissue prints! Give them to friends and loved ones or keep them all as a Valentine to yourself.
You will need: Bleeding art tissue paper, watercolor paper, cup of water, paint brush, scissors, and an ink pen. Optional items include colored pencils, stamps, and stickers.
1. For this project you will need tissue paper that allows the color to bleed. Not all tissue papers do this, but certain types such as Spectra Art Tissue have a ‘bleeding art tissue’ paper. You will also need watercolor paper, a cup of water, paint brush, and an ink pen.
2. Cut up small (1”-2”) rectangles of tissue paper until you have about 15-20. (You can also get adventurous and cut other shapes if you like such as flowers, hearts, stars, or diamonds. It’s your world.)
3. Get two pieces of watercolor paper that are the same size. Lay them flat on the table and paint water on both pieces of tissue paper.
4. Quickly before the water dries lay your tissue paper shapes on one piece of wet watercolor paper. Then place the second piece of wet watercolor paper on top like a sandwich.
5. Gently press your fingers over the back of the paper and wait a few minutes for the color to transfer and for the paper to dry.
6. Peel off the tissue paper and discard it. Stand back and behold your beautiful tissue prints! You will now have two tissue paper prints on watercolor paper.
7. When the tissue prints are totally dry take a pen and draw flowers on top of your watercolor prints. Use the flower images provided or invent your own flower designs.
8. You can also use other mixed media materials like colored pencil, regular pencil, stamps, stickers, etc. to decorate your prints. Use scissors to cut decorative edges on your paper like waves, scallops, points, curves, or shapes.
9. Use the pieces cut out of the edges to collage on top of your printed papers. Move them around until you get a design you like. Try cutting your prints in half even, get wacky! Glue any cut paper pieces you like on top of paper onto your prints.
10. Write lovely messages on top of your tissue prints or on the back to create Valentines!

